
1. Use the ENTIRE page for the newsletter. The newsletter will be 1 page in length.
2.
Margins: .75 for all
(left, right, top, bottom)
3.
Create a nameplate/masthead. The
height of the nameplate is not more than 1.5".
Included in the nameplate: your
name, class period, version 1.
4.
The number of columns in your newsletter must be 2.
5.
Include the class name as the heading for each story. Each
heading must be formatted the same.
6.
Write individual stories for each class you take.
Lunch is not a class. You do
not have to write the stories in the order of the day.
Use complete sentences and grammar.
THIS WILL BE EVALUATED!!!!! Use
the same text style for every story. The
font size can be no larger than 14.
**The stories that you write must be about your classes. Write about what you do in your class. Don't write about not liking the class or if you don't like the teacher. Write about what you study in the class. You will need at least 4+ sentences for each story that you write.
7. Include pictures for each story in your newsletter. Pictures must be appropriate for the story. No larger than 1" and must have text wrapped around. Do NOT place an image that splits a paragraph in half.
8.
A border must be somewhere on the page:
page border, column, or paragraph.
Dead words: words you cannot use when writing
|
|
|
Formatting to keep in mind:
Turn it in (on Tuesday)
---------------------------------------------------------------------------------------------------------------------------------
First line indent set to 1/4" (not a tab of .5)
Use a picture for ONLY 3 of the classes (delete any extra)
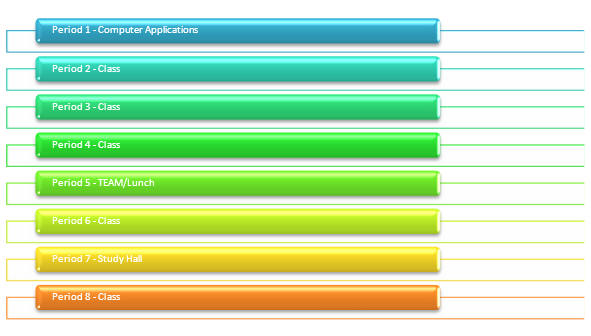
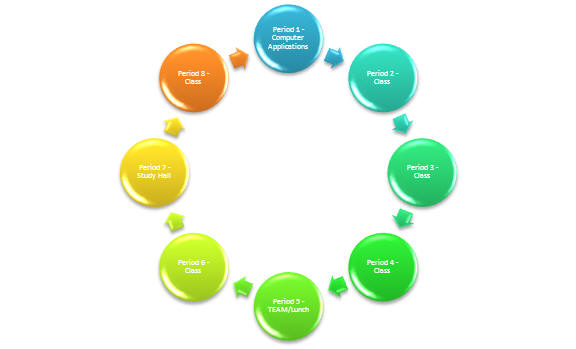
Create a "Smart Art" shape that contains your class schedule and teacher name. Include a heading "My Class Schedule". You can pick from the following shapes: list, cycle, pyramid. Make sure the shape fits your needs. Include all 8 periods IN ORDER of the day. Change the color of your smart art shape. Size it so that it is no larger than 4x4.
My Class Schedule


Should fit on 1 page
Modify the version # to be 2
SAVE AS version 2
Modify any corrections from the graded Version 1
Print Version 2 to 4200
Staple new version on top of Version 1
-------------------------------------------------------------------------------------
SAVE AS version 3 (you will now have 3 files of your own newsletter)
Choose your columns (2 or 3, no combination)
Choice of text alignment (left or justified)
Choice of First line indent (no larger than .25)
Modify picture size/placement if needed (must have at least 2 pictures)
pictures cannot be larger than 1.5
Delete your smart art class schedule
Incorporate the class hour and teachers name to sub-headings (format different than sub-heading)
For example
Marching to a different beat
Borchardt�7th
Get a quote from a teacher that you have a class
with.
Include the quote as a pull quote in your newsletter.
Create a
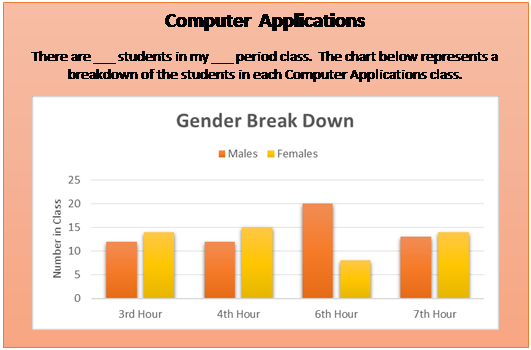
Subheading that says Computer Applications. Type this paragraph of
text (filling in the blanks): There are ___ students in my ___
period class.
The chart below represents a breakdown of the students in each
Computer Applications class.
3rd hour: 16 M and 11 F (27)
4th hour: 14 M and 14 F (28)
5th hour: 12 M and 16 F (28)
7th hour: 14 M and 14 F (28)
Below the Computer Applications paragraph you just typed with the class breakdown, insert a 3D Clustered Column chart. Add an appropriate chart title, horizontal axes and vertical axes labels. Format these axes. Apply a chart style. Place the legend at the top or bottom. Chart the info for each class period and the number of males/females.
Place the subheading, paragraph, and chart in a text box. (select them and draw a textbox) ... see example below
Format the text box with a shape effect of your choice.
Size the textbox (won't be larger than 4 x 4)
Add a shape style color of your choice to the textbox.
Size the text and chart. The chart will not be larger than Width = 3.5 and Height = 2.5 (example is below)
 |
|
Save as Version 3
Should fit to one page
Colors for wordart, textboxes, sub-headings, and page border (if used) should go with each other.
Print to color printer (CP4025 OR 3700)
Put in red tray