Photoshop designs
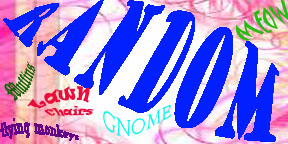
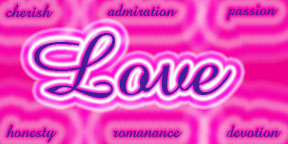
Text only
with blending styles on ALL text (size can not be larger that 10 x 4 at 300
dpi)
1: classmates (we did as class)
2: YOUR NAME use 4 or 5 words to describe you
3: word of choice and then use 5 or 6 words to describe the main
word
Below are some examples:
---------------------------------------------
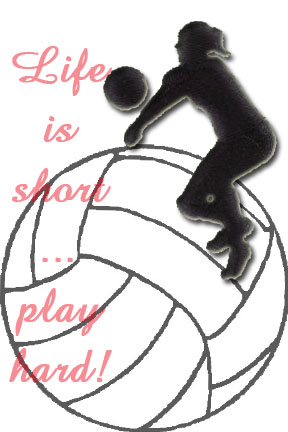
Pictures with
Phrase (you may change the orientation of layout to 10 height 4
width)
1: Go Lynx (we did as class)
2: phrase of choice (must be representative of one hobby of yours) with no
more than 2 pictures
- you must utilize at least one blending style
3: same phrase as #2 or a different one representative of one hobby with a
picture as the background and no more than 4 additional images as a collage
Below are some examples:

----------------------------------------------
Your name
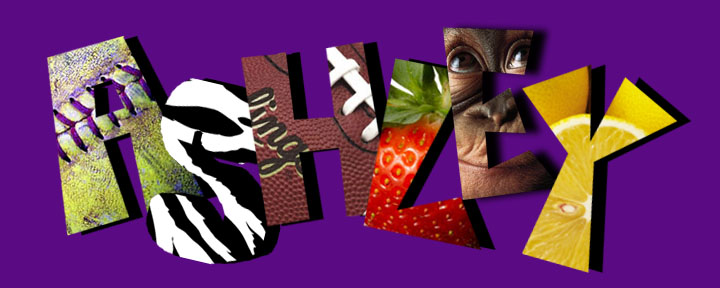
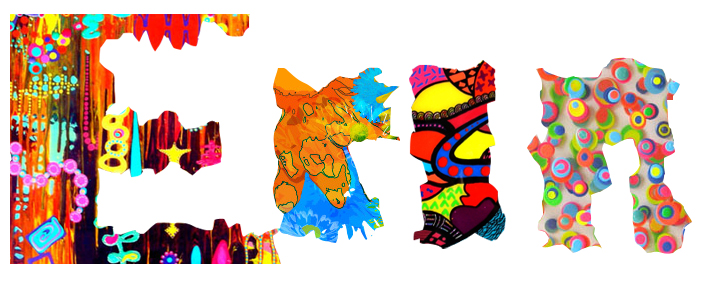
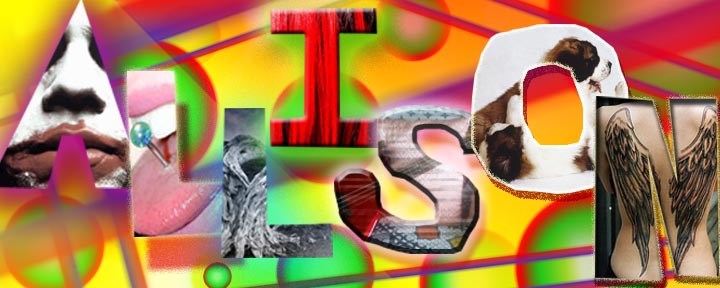
1: Use pictures to spell your name out. You should be able to tell
what the picture is as the letter. The pictures should represent your
interests/hobbies. The background is your choice (color or picture).
Apply blending effects to the letters.
2: Size of the canvas will be 10 x 4
Below are some examples:
----------------------------------------------
Your choice
of 3 additional layouts:
1: all 3 must fit on a normal page (no larger than 8 x 11)
2: 2 of them cannot be a 4 corner square/rectangle when cut out
3: you can use any combination of pictures/words
Below are some examples:

----------------------------------------------
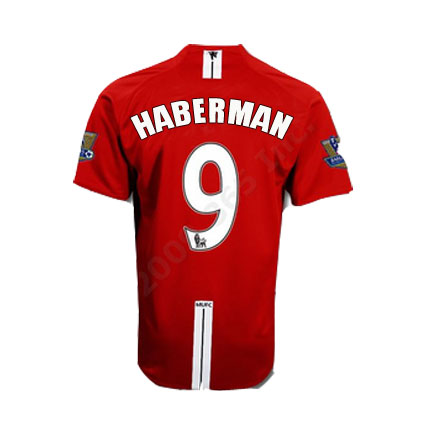
Word of choice
Use one picture to fill the word
Must be able to tell what picture is
Picture must relate to the word
To get the same size as the
image,
start with the image open
CTRL + N for a new image, then continue below
Type the text
Copy and Paste the image
On the Image layer (CTRL + G)
----------------------------------------------
Steps to remove background from pictures:
to send things to the back or front click and drag the layer either up or down...change the order of the layers